Let's do it!
1. Create a Hero
When you create your account, you'll be given the option to choose between activating the worldbuilding suite or Heroes (the character and campaign management tool).
Choose the latter clicking on the big "Create your Hero" image. If you forgot to click on this option when you created your account, you can always access the character creation page from the left side bar anyway.
2. Edit your Hero's Profile
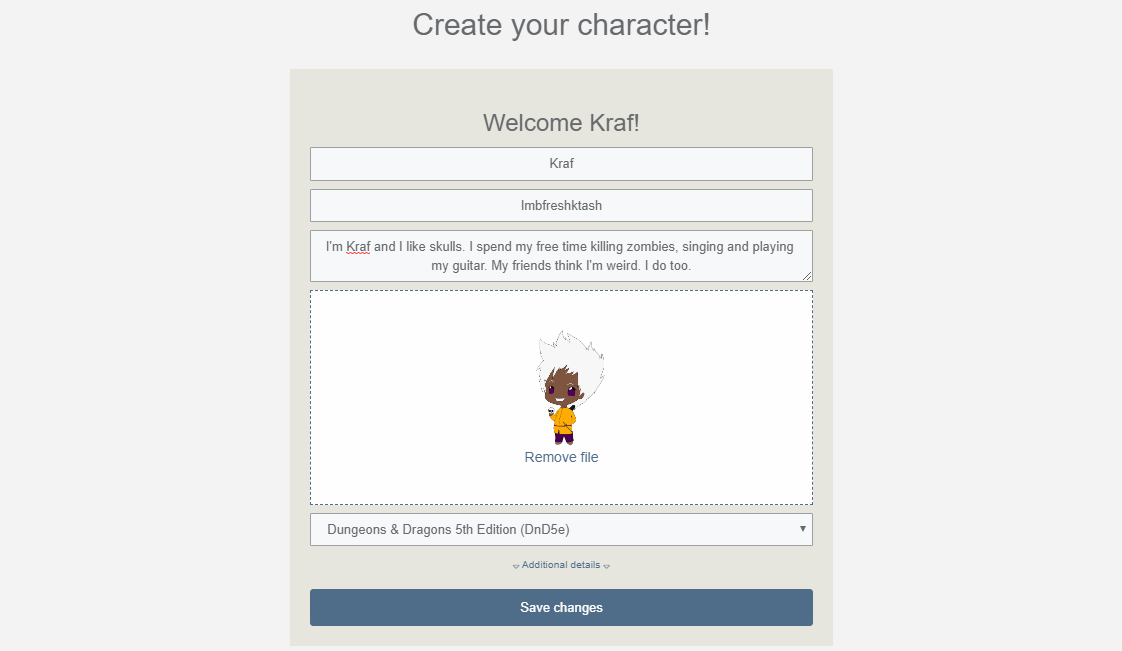
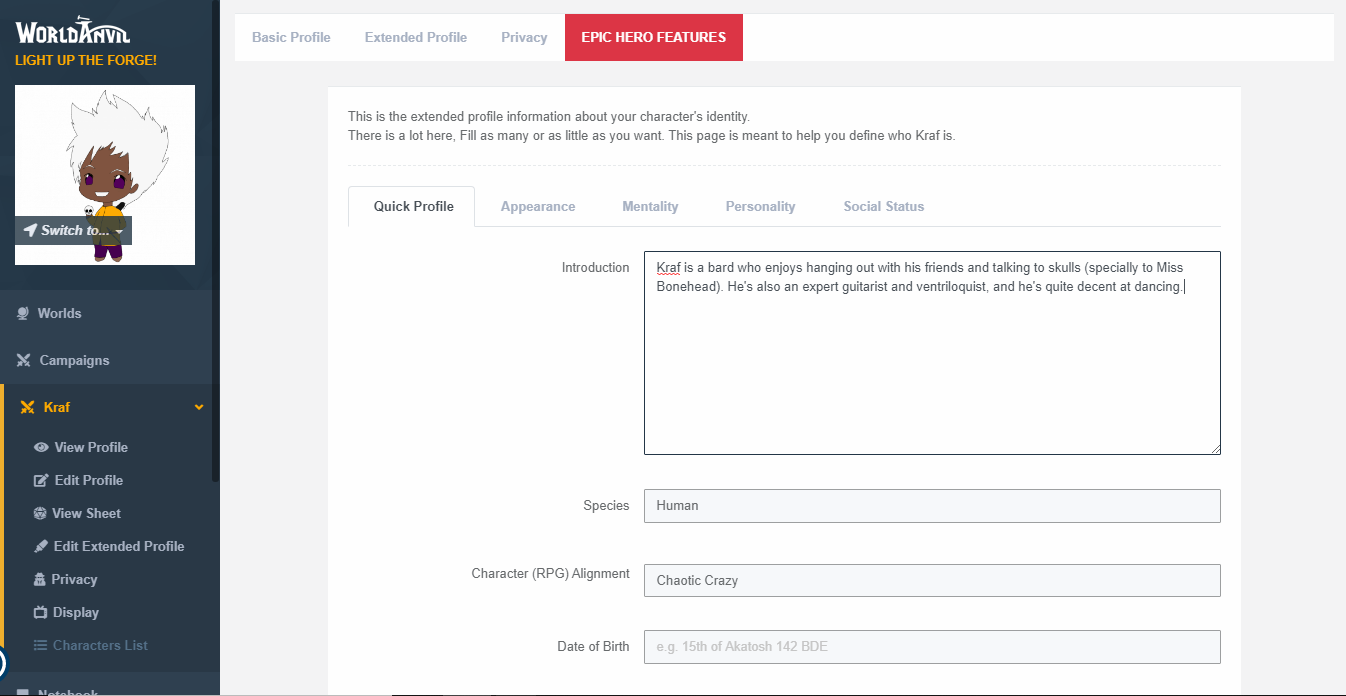
When you finish the previous step, you will access your character's profile, which includes some social features (but we'll get to that later on). To edit the character's profile, click the
Edit button under the character's short bio. The profile editing page has two tabs (three if you are an
Epic Hero): basic and extended profile. In short, the basic profile will appear in the "bio box" in the left side of the character's profile, while the extended profile appears in the
About tab of the profile. Fill in the fields you want (empty fields will just not appear in the profile), save the profile, and you're all set!
3. Create Posts and Journals
Heroes is designed around a social experience for your characters. The social features are completely optional, but can be quite useful for both role-players and writers. A player might use them to interact with their party mates between sessions, while a writer could use them to develop a voice for a character through posts. Whatever your use case, here are some things you can keep in mind:
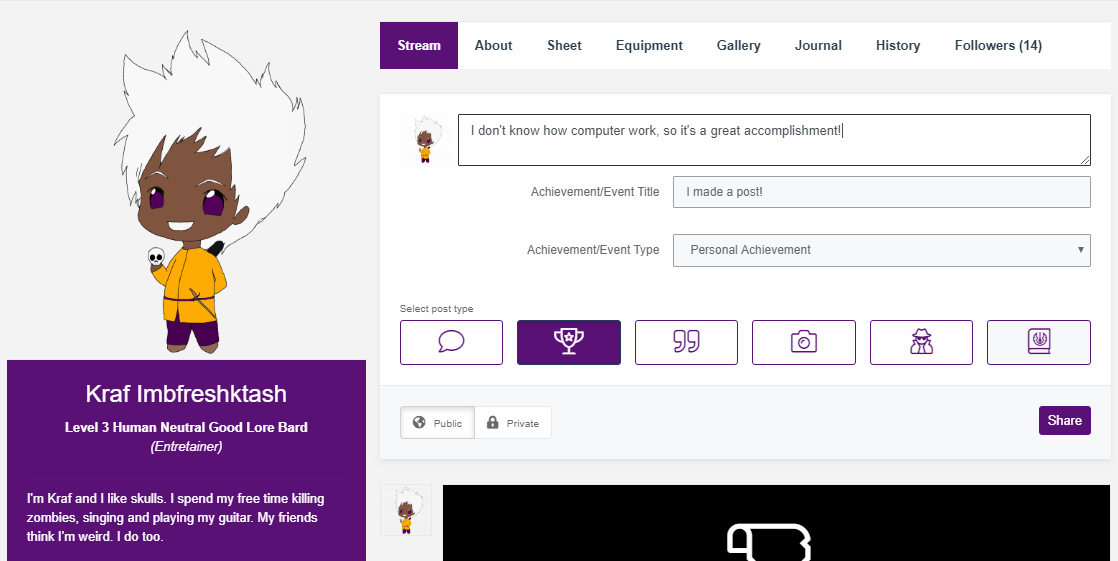
- There are different post types, each one with its own features. Use them to add more variation to your profile! You can also use the Out of Character post type to write a post from your own point of view (and not from the character's)
- Journals Entries are long-form posts; use them to write about the events that happened in the last session from your character's perspective!
- You can set individual posts to be private, in case you want to test something or just write a post that is only for your eyes.
- Achievement posts and Journal entries will appear in a timeline located in the History tab —very useful to recall past events of your character's life! Journals and images also have their own tabs.
4. Create your Character Sheet
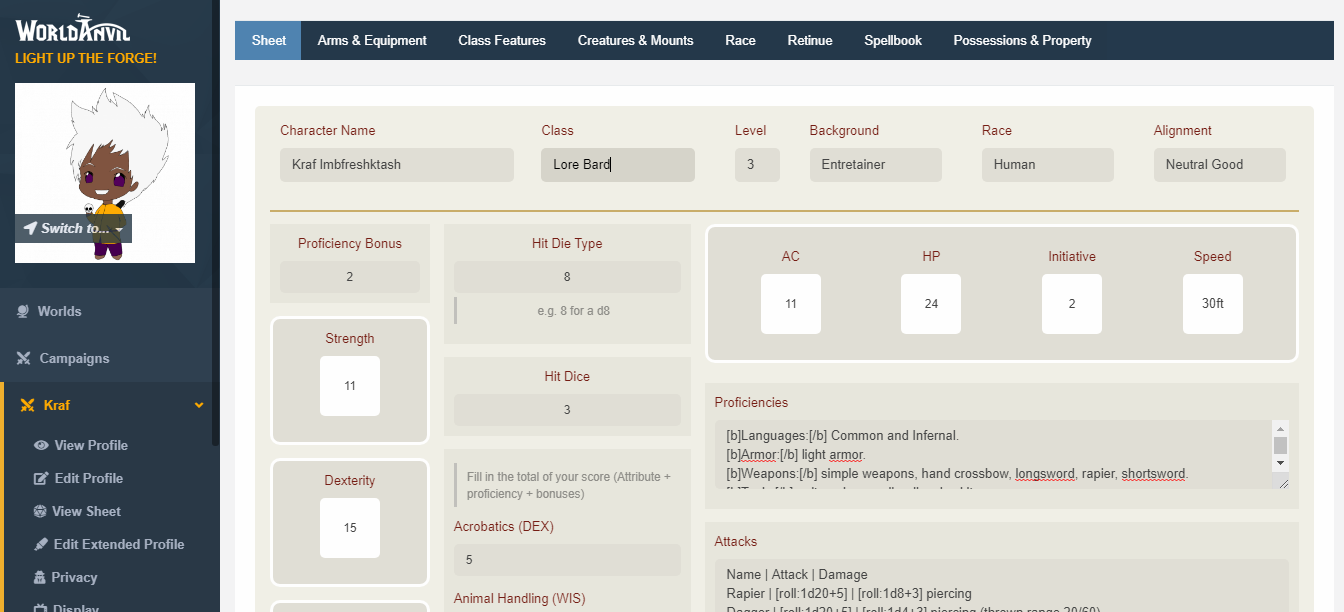
To create the character sheet for your character, make sure that you have an RPG system selected in the basic profile. Under the system drop-down, you will find a link labelled as "Choose your character sheet" —click it (you can also access the character sheet creation page from the
Statblocks option in the sidebar). In the next page, choose the character sheet template for the system you want to use in the first drop-down. If you already created a character sheet and want to link it to the character, use the second drop-down. Have fun filling it out!
When you are all set,
ask your GM for the invitation link to the campaign and access it from your account! The link will add you (and anyone who accesses it) as players to the campaign.
5. Let's play
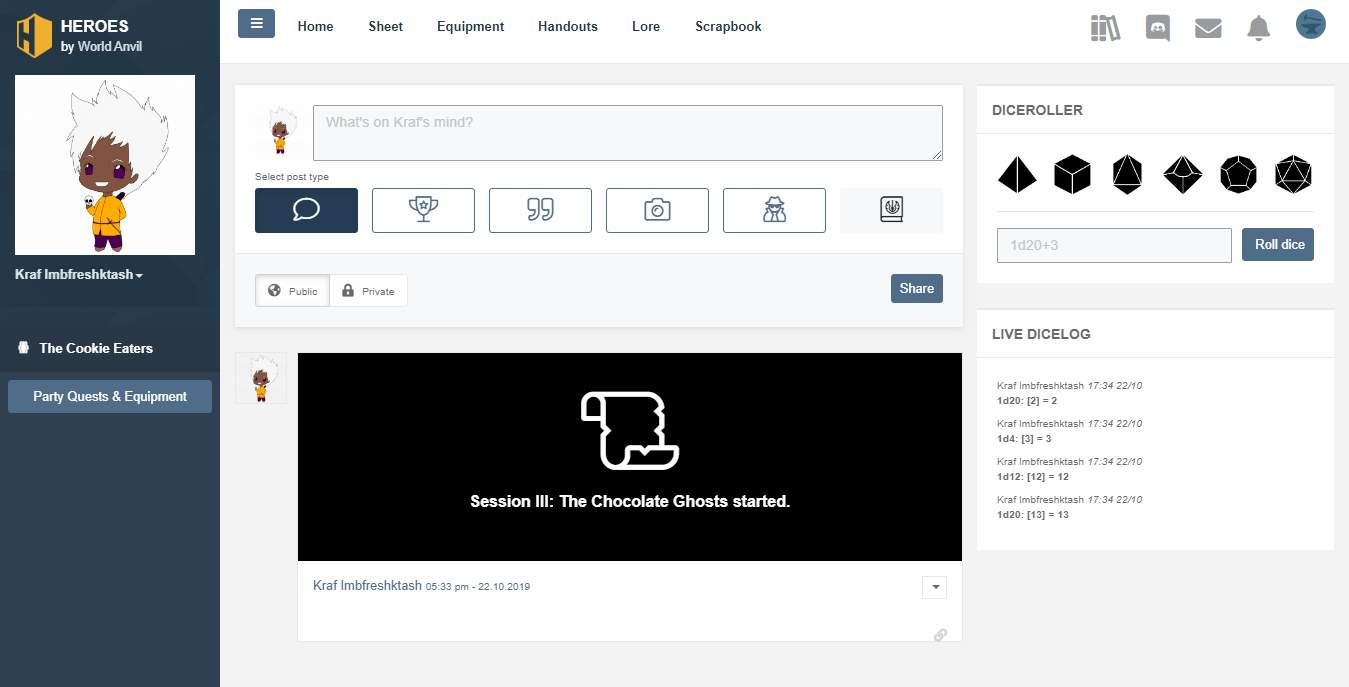
If the GM of the campaign you are playing in is also using World Anvil, you will be able to use some neat tools to help you keep track of everything! When the GM starts a session, you will see a button that will take you to the session live screen. The live screen has different utilities, including a virtual dice roller, a stats tracker, a party management screen, and more. You can find detailed instructions on how to use it in the
Guide to Playing a Session, but in short:
- Use the Scrapbook to take notes during the session. If you are a Guild member, you can also use the Notebook, which is available outside the live screen and available between sessions.
- Use the Equipment tab to track the items that your character is carrying.
- Even though physical dice are shiny, the live screen also has a standard dice roller where the results of the rolls are sent to the GM and the rest of players.
- Use the trackable character sheet to track values such as your character's hit points or spell slots on the fly. The changes will be saved to the main character sheet.
- Use the party menu to see and manage the quests that your party is currently trying to complete.
Although the live screen is only accessible during a session, all changes you make through this screen will be saved and accessible in between session as well (mainly through your character sheet).
6. After the session
After the session ends, you can polish your notes and put them in a journal entry so that you remember what happened in past sessions and your fellow players and GM can read through the experiences of your character from the character's own eyes. You can also use the social features to interact with the posts that other players publish, and if there are long periods of downtime between sessions, you can tell what your character is doing using posts!
Other Workflow Guides
As this Codex progresses, we will add additional workflows for different styles of World Anvil users. Until then, feel free to ask any questions in the comments below and we will respond ASAP!






How do I disable Heroes? Or how to I access all of my original data? All of my saved data disappeared when I changed to Heoeos. I would really like it back!
Hi! Can you please clarify? What do you mean by "changed to Heroes"? And which data are you referring to? Heroes is just one feature of World Anvil, so you should be able to access everything for the left sidebar. Thanks!
Some time after I joined, the HERO button appeared. Being curious, I clicked it, explored it, and clicked back to the original database. One day while I was looking at the HEROs section, I no longer had the ability to click back to the original database, which is where all of the articles, characters, and et cetera that I had created are residing. If there is a link in to left sidebar that I am overlooking, please let me know what I am doing wrong. Thank you.
Left side bar, Settings, Account Details ( https://www.worldanvil.com/dashboard/user/account ), scroll down to DETAILS. YOu probably enabled the HERO only mode and the other features are disabled here. Click those bars ("World building features" etc) to reenable them.